8 minutes
Free Bob
Introduction
A few month ago we bought a Roborock S7 Pro Ultra vacuum robot. We named him Bob which is short for Boboter.
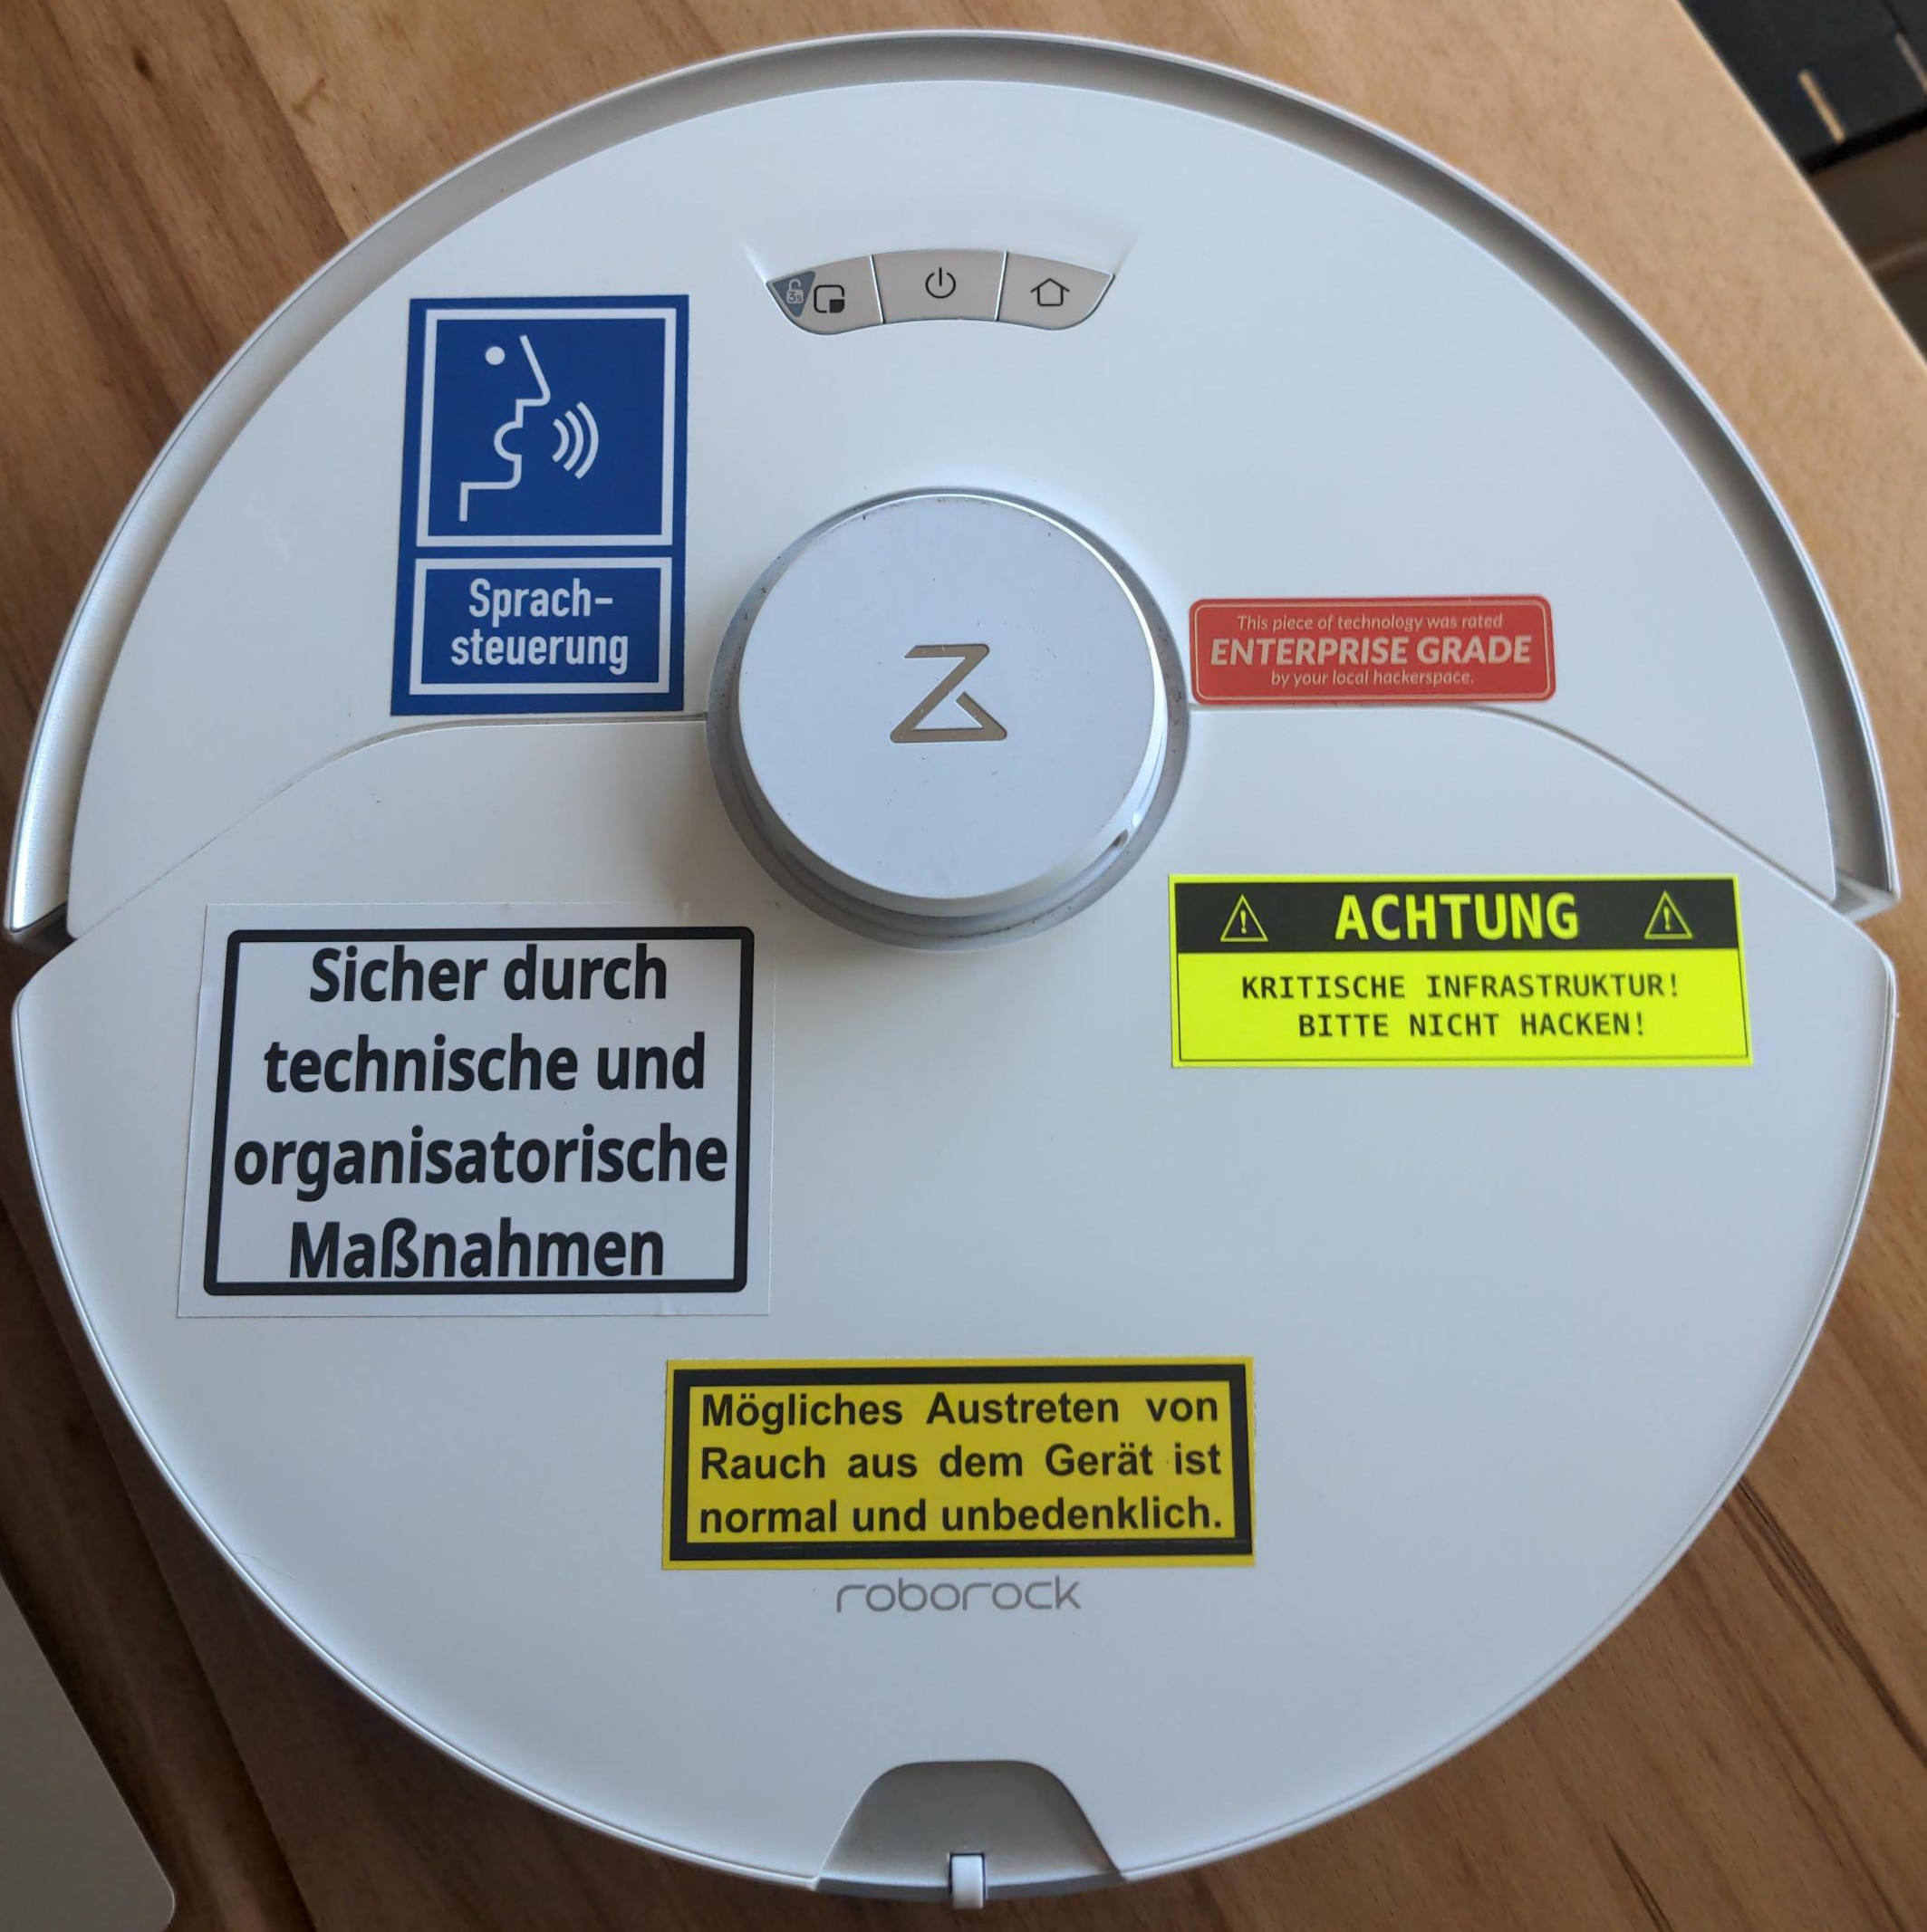
Figure 1: Meet Bob
I am really happy with the cleaning performance, and especially the mopping feature surprised me in a positive way. However, I don’t like the enforced cloud connection, without which the robot is basically useless.
When the robot is set up for the first time, it creates a Wi-Fi access point. To set it up, you have to connect to the access point using the Roborock mobile app. Unfortunately, the app requires you to create a Roborock user account first 🙄
After giving away all my personal data, the app asks for the credentials of the Wi-Fi network the robot should be connected to. The robot connects to the Wi-Fi and thus to the internet. From here on, all communication between the mobile app and the robot happens via the cloud. After an initial firmware update, the robot is ready to clean. At least as long as the robot has a stable internet connection.
I deliberately chose this model because it doesn’t have a built-in camera, which apparently some people consider a disadvantage. However, even without a camera, I’m not exactly happy having a device in my network that can be controlled via the internet and sends whatever data to the manufacturer.
Fortunately, there is the Valetudo project, which allows you to free your robot from the cloud. The professor of my “Secure Mobile Systems” class, brought the project to my attention.
Valetudo is an opinionated software solution for cloud-free vacuum robots empowering thousands of users. Since it was started in 2018, it has matured to a reliable fire-and-forget solution that just works.
― Valetudo
I’ve decided to give it a try. Since the process of freeing Bob requires rooting the device, I thought it makes sense to have a deeper look into the system to understand how it operates, how it can be controlled remotely, and what kind of data it can send back to the cloud. Luckily, I might even earn some bonus points for the aforementioned class by doing so. Therefore, this blog post also serves as a documentation for the bonus project.
About Valetudo
Valetudo is an open source project made by Sören Beye. The rooting of the devices is based on the research conducted by Dennis Giese, who has given some remarkable talks on the subject [1],[2]. Valetudo replaces the cloud component by hosting a web server directly on the robot which communicates with the robots API to control the hardware. This does not replace the original firmware itself, but only the cloud part communicating with it. Hosting the web server directly on the device enables a direct communication with the robot via my home network or by connecting to the robots Wi-Fi access point directly.
Rooting Bob
Most vacuum robots do not allow remote access to the system by default. Therefore, rooting is necessary to install the Valetudo web server and replace the manufacturer’s cloud endpoints with our new locally hosted endpoints. The rooting process differs, based on the model of the robot, see the Supported Robots page for an overview.
For older robots, rooting can be as simple as pushing a rooted firmware image to the device using the official Over-the-Air (OTA) update mechanism. However, for newer robots like mine, it is necessary to fully disassemble the device. Fortunately, soldering is not required as Dennis discovered a way to boot the device into FEL mode by shortening a specific pin [1].
FEL is a component of the BootROM of Allwinner devices, which is used for initial programming and recovery of devices. We can utilize it to flash a rooted kernel along with an SSH key that enables remote access via SSH.
Disassembly
Disassembling Bob proved to be relatively easy, thanks to YouTube videos for similar models that provide a step-by-step guide. However, it did take quite some time and mate to complete.
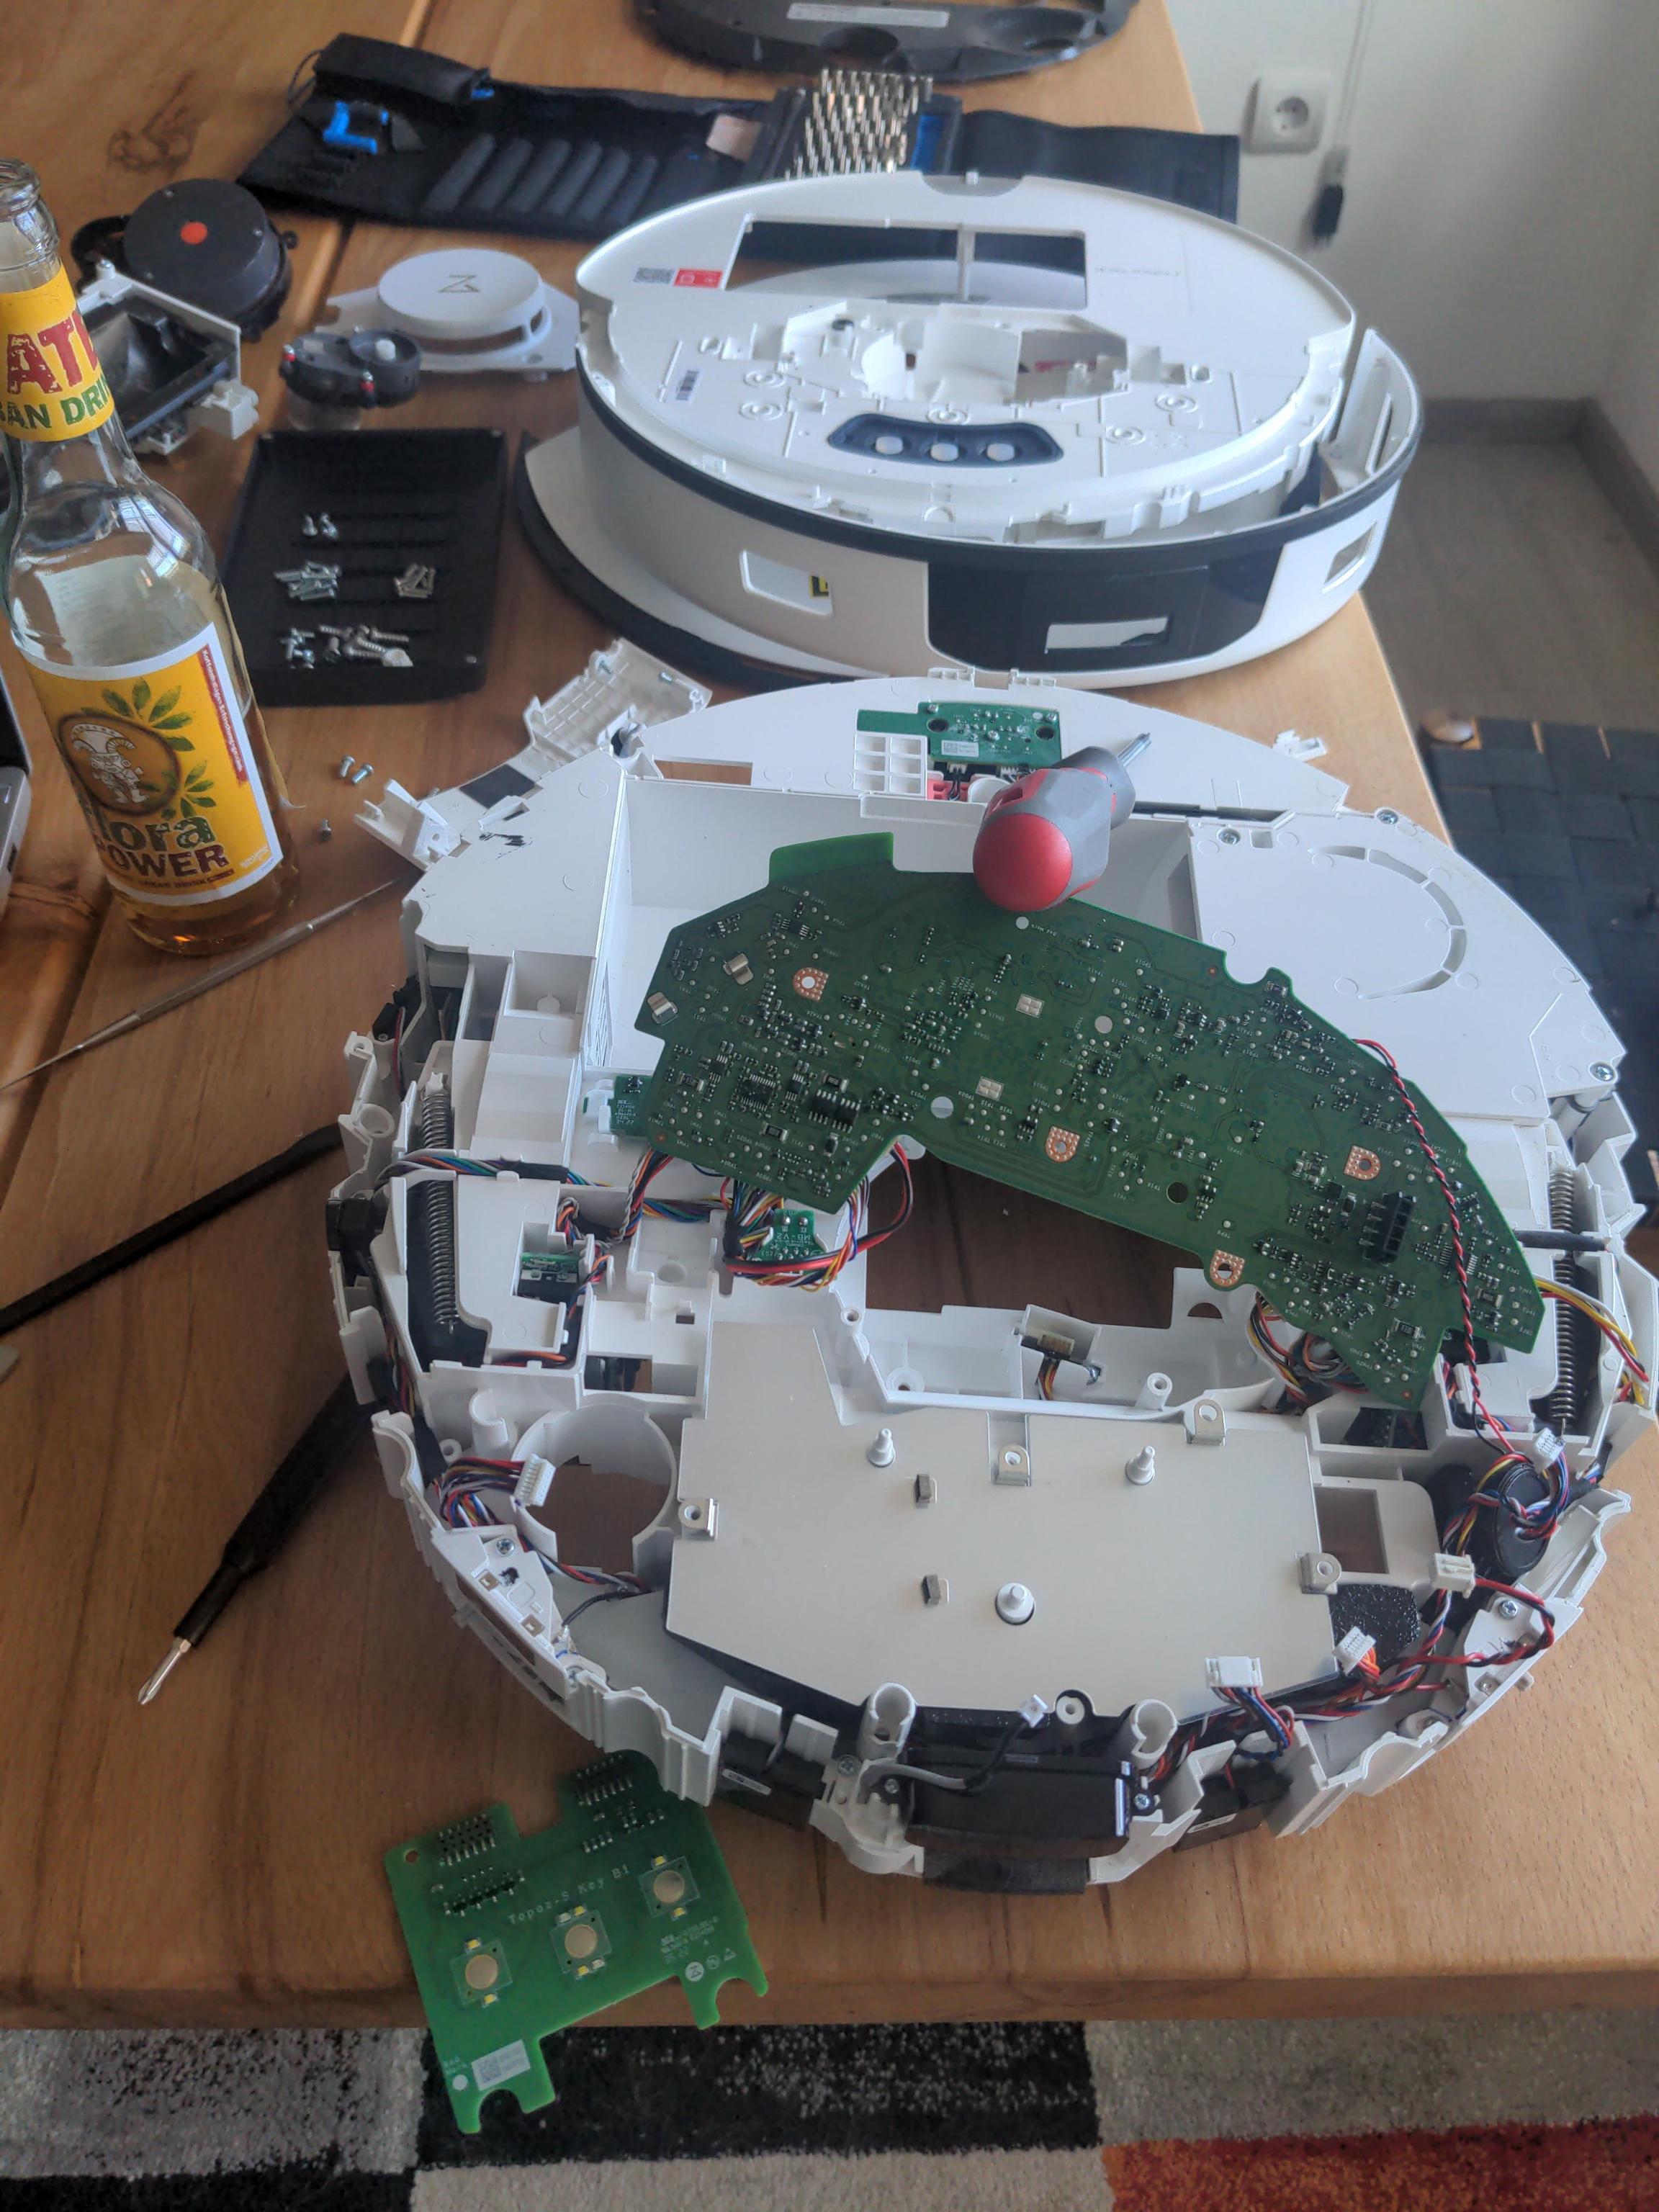
Figure 2: Disassembled Bob
Rooting
After disassembly, I followed the provided instructions given here. I connected the USB cable, pulled the TPA 17 pin low with one hand
while turning the robot on with the other hand. Bob successfully booted into FEL mode, which I verified using lsusb:
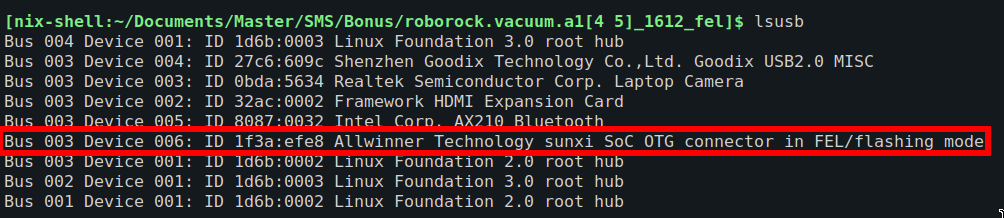
Figure 3: lsusb output after booting into FEL mode
I uploaded the custom U-Boot image created by DustBuilder, which granted me SSH access to the device.
At this point I’ve decided to have a look into the system and examine its running services before proceeding with any further modifications.
Reverse engineering
My main focus was on exploring the remote features of Roborock. However, I had no idea where to start. Therefore, my first step was to explore the running processes, and I found several non-standard processes that seemed promising.
379 root     54252 S    WatchDoge /opt/rockrobo/watchdog
450 root     22776 S    {rrlogd_main} rrlogd /opt/rockrobo/rrlog/rrlog.conf
472 root      2100 S    {toprotation.sh} /bin/bash /opt/rockrobo/rrlog/toprotation.sh
...
486 root      100m S    rr_loader -d
513 root     14688 S    {robo_main} RoboController
515 root     41084 S    {app_main} AppProxy
517 root     13848 S    {wlanmgr_main} wlanmgr
536 root     20828 S    rriot_rr -d
Especially the last 5 processes, listed above, seem interesting. And indeed, the rriot_rr process listens for incoming TCP
connections on port 58867.

Figure 4: open ports
Taking this as my starting point, I threw the rriot_rr binary into Binary Ninja.
All the binaries were stripped, meaning that all debug information such as variable and function names, had been removed during compilation.
$ file rriot_rr
rriot_rr: ELF 32-bit LSB executable, ARM, EABI5 version 1 (SYSV), dynamically linked, interpreter /lib/ld-linux-armhf.so.3, for GNU/Linux 3.2.0, BuildID[sha1]=c8950b038a3e7ddff0272d30c0d482989045e9d9, stripped
Thankfully, almost every function contained a call to a logging function with a debug string as input as shown in figure 5.
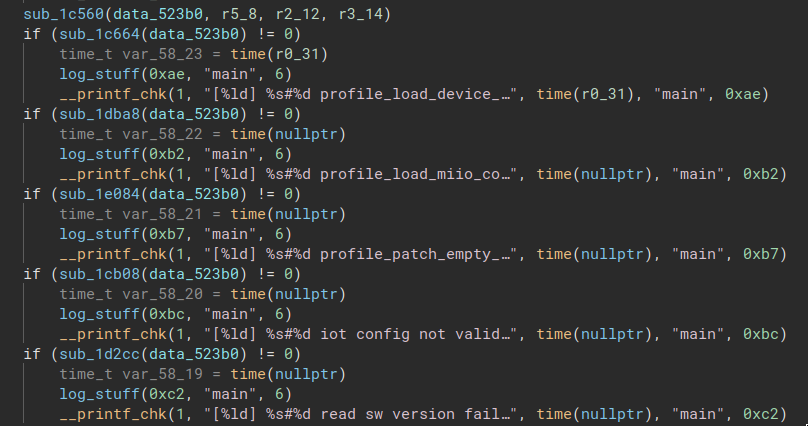
Figure 5: Strings for logging
This made it relatively easy to get an overview of the robots functionality. The following will summarize what I found out. All of this is based on static analysis, as I didn’t want to risk breaking my expensive robot.
Results
rriot_rr
I have identified the following 5 main tasks rriot_rr performs. Each task is moved to its own thread.
- Configuration listener
- Periodically checks for changes in configuration files and restarts other processes if necessary.
- WLAN handler
- Handles WLAN communication.
- IoT adapter
- Enables local connectivity for home automation.
- HTTP handler
- Handles asynchronous HTTP requests to https://api-eu.roborock.com/.
- Map uploader
- This task uploads the map over MQTT.
Among these tasks, the map uploader and the HTTP handler are the most interesting. The map uploader sends the map to the MQTT endpoint of Roborock on a regular base.
The HTTP handler uses the following endpoints:
/time/now
/location
/region
/devices
/nc
/time/now returns a Unix timestamp and /location the IP and country code associated with the request. Both endpoints are unauthenticated.
/region, /devices and /nc, however, require a signature as a POST parameter.
This signature includes device-specific values such as the device ID, supported featureset, and serial number.
These values are concatenated, encrypted using the private RSA key, and then hashed with SHA256.
While I do not understand what /region is for, I got a basic understanding for the other two.
/nc seems to be used for deploying MQTT configurations and /devices to push device specific information like the featureset to the cloud.
AppProxy
AppProxy, as the name suggests, acts as a proxy between RoboController and the Roborock cloud.
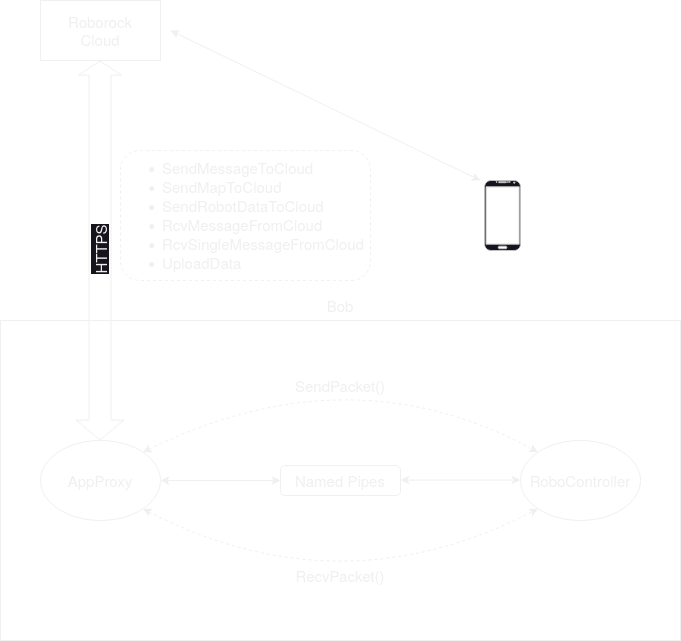
Figure 6: AppProxy communication via the Roborock cloud
As shown in figure 6, AppProxy communicates with the RoboController via named pipes. RoboController contains
the main logic of the robot and controls the hardware. The inter process communication is part of the libroboipc.so shared object file,
which provides the SendPacket() and RecvPacket() methods to both RoboController and AppProxy.
AppProxy utilizes libcurl to communicate with the Roborock cloud via HTTPS. It appears that AppProxy pulls messages from the server on
a regular basis. In addition to the send and receive functions, there are also functions such as SendMapToCloud, UploadData and a
SendRobotDataToCloud.
While the SendMapToCloud function is obviously used to upload current map data, I am uncertain regarding UploadData and SendRobotDataToCloud.
It seems like SendRobotDataToCloud is used for data like configuration files where UploadData is used to upload log files from /mnt/data/.
At this point I decided to stop reverse engineering as I have already invested quite some time. Even though I found nothing I did not expect, this investigation proved me right in my mission to finally free Bob.
Finally freeing Bob
I resumed following the instructions for FEL rooting and encountered no issues during the process. By deploying the Valetudo web server on the robot as shown in figure 7 I can now control the robot directly without the detour via the roborock cloud.
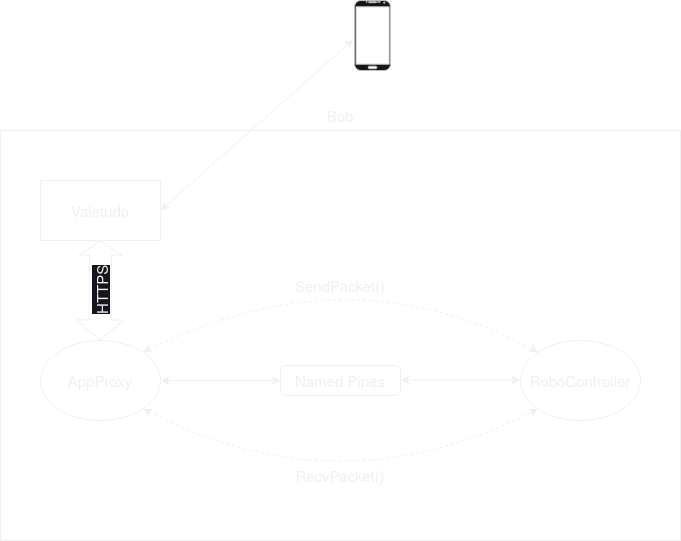
Figure 7: AppProxy communication via Valetudo
Conclusion
By replacing Bob’s cloud component with Valetudo’s open-source web server, I was able to completely free the robot from the cloud. Throughout the process, I reverse-engineered some of the key components to gain an overview of its functioning. I identified the methods that handle the cloud communication and visualized the interaction of the individual processes.